If you’re working to manage your blood sugar, whether you have diabetes or simply want to maintain healthy levels, one of the best tools at your disposal is a blood sugar tracker. These trackers help you monitor your glucose levels, spot patterns, and take control of your health. But how exactly do you use a blood sugar tracker effectively? In this step-by-step guide, we’ll walk you through everything you need to know to get started with blood sugar tracking, ensuring it becomes a helpful part of your health routine.
Step 1: Choose Your Blood Sugar Tracker
Before you start, you’ll need to decide what type of blood sugar tracker works best for you. There are two main options:
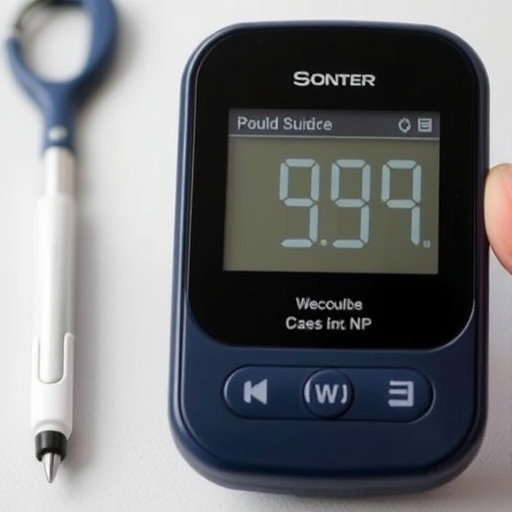
- Traditional Glucometer – This handheld device is the most common blood sugar tracker. It requires a small blood sample (usually from a fingertip), which is placed on a test strip that the device reads to give your blood sugar reading.
- Continuous Glucose Monitor (CGM) – This device is typically worn on your skin and continuously monitors your blood sugar throughout the day. CGMs are often recommended for people with diabetes or anyone who needs real-time monitoring.
For beginners, a glucometer is an easy and affordable option. However, if you prefer continuous monitoring and want to track your blood sugar throughout the day, a CGM might be the better choice. Consider your budget, convenience, and needs when making a decision.
Step 2: Know When to Test
Knowing when to check your blood sugar is just as important as knowing how. Here are key times to test your blood sugar levels:
- Fasting (before eating): This is typically done first thing in the morning, before eating or drinking anything. It gives a baseline reading of your blood sugar levels.
- Post-meal (2 hours after eating): This helps you see how your body responds to the foods you’ve eaten and whether your blood sugar levels are within a healthy range.
- Before bed: Testing before going to sleep ensures that your blood sugar isn’t too high or too low, which is especially important for those with diabetes.
- During exercise or physical activity: If you’re using a CGM or have specific concerns about how exercise impacts your levels, testing before and after can be helpful.
Track these times in a log or with a digital tracker to get a better understanding of your patterns.
Step 3: Prepare for the Test
If you’re using a glucometer:
- Wash your hands to avoid any contamination that might interfere with your results.
- Prepare the device: Insert a new test strip into the glucometer and ensure it’s ready for use.
- Prepare the lancet: If your glucometer requires it, load a fresh lancet into the device. This will be used to prick your fingertip for a blood sample.
- Choose a site: The fingertip is the most common site for blood sugar testing, but other areas like the palm or forearm can also be used. Make sure the site is clean.
If you’re using a CGM:
- Ensure the sensor is properly placed and functioning on your body (usually on your abdomen or back of your arm).
- Check the display device or app to ensure you’re getting a reading.
Step 4: Take the Test
For a glucometer:
- Prick your fingertip with the lancet device (or another site, if using a multi-site glucometer).
- Apply the blood sample to the test strip and wait for the device to read the sample.
- Record the result displayed on the glucometer screen.
For a CGM:
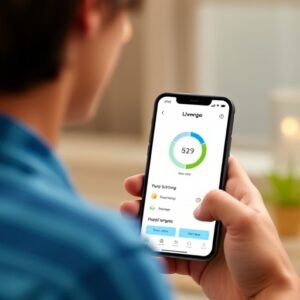
- Review the real-time data provided by the CGM display or mobile app. You should be able to see your blood sugar levels and trends throughout the day.
Step 5: Log Your Results
Whether you’re using a glucometer or CGM, it’s important to record your blood sugar readings to track trends over time. Here’s how:
- Manual Log: If you’re using a glucometer, write down the time of the test and your blood sugar reading in a notebook or journal.
- Digital Log: Many glucometers and CGMs sync with apps or software where you can automatically log your data. This makes tracking even easier.
Additionally, make note of other factors that could influence your blood sugar, such as:
- The foods you ate before testing
- Exercise or physical activity
- Stress levels
- Sleep quality
This will help you see correlations and patterns in how different factors impact your blood sugar.
Step 6: Review Your Data
Over time, you’ll begin to notice trends in your blood sugar levels. Regularly reviewing your results helps you understand your body’s response to various foods, activities, and even stress. You can identify:
- Patterns after meals (e.g., do certain foods cause spikes or crashes?)
- Times when your blood sugar is consistently high or low
- The impact of exercise or sleep on your levels
Use this information to adjust your diet, exercise, or lifestyle habits to keep your blood sugar within a healthy range.
Step 7: Make Adjustments Based on Your Results
Once you have a solid collection of data, you can work with your healthcare provider to make adjustments to your lifestyle or medication if needed. This could involve:
- Changing your diet to include more fiber-rich, low-glycemic foods.
- Adjusting your insulin or medication dosage.
- Increasing physical activity to improve insulin sensitivity.
Tracking your blood sugar levels over time helps you make informed decisions that will benefit your long-term health.
Blood Sugar Tracking for a Healthier You
Using a blood sugar tracker is an essential part of managing and improving your health. It helps you gain control over your body, recognize problem areas, and make informed decisions about your lifestyle. By following this step-by-step guide, you’ll be able to track your blood sugar effectively, ultimately working toward better blood sugar management and overall well-being.
Remember, whether you’re using a glucometer or a CGM, consistency is key. With time, tracking your blood sugar can become second nature and a vital part of your health routine.
At BloodSugarHealthy.com, we’re here to guide you every step of the way, offering tips, recipes, and support to help you stay on track. Let’s take control of our health—one blood sugar reading at a time.
This post is designed to be informative, practical, and user-friendly, making blood sugar tracking accessible to your readers. Let me know if you’d like any modifications!


